CW-files Anleitung
Open Extensions->Modules from the Admin menu and add a new module of type "cw-files".
cw-files itself doesn't provide an opion to upload files. You have to do that using the Joomla media manager or by any other means. Best practise would be to create a separate folder for each cw-files instance used, upload the documents for that instance in that folder and set the "File path" option in the module to that folder. How this works will be explained in the respective sections "File parameters" and "File manager" in this manual. This way you can even use a file-path outside the website-folder, e.g. to protect the files from unwanted download.
Administration
in the first tab you can switch off the css styles that come with the module. You probably don't want to do this, unless you want to re-design it from scratch.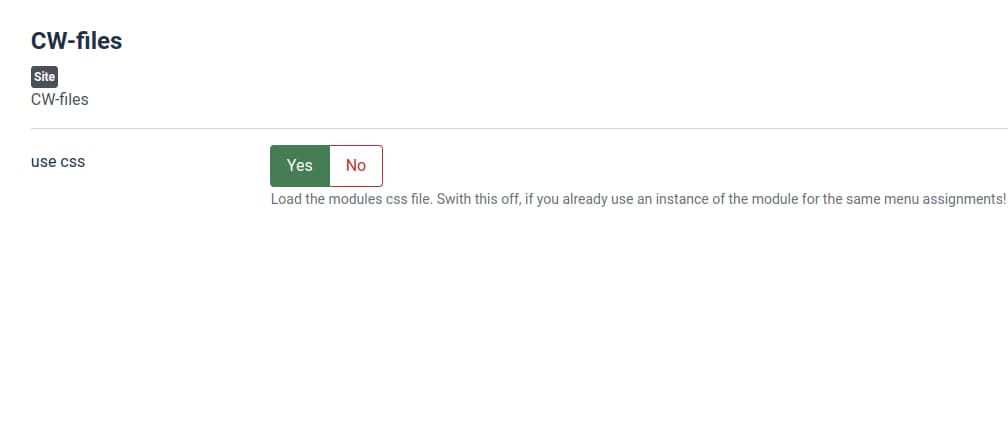
Here you tell CW-files where you store the files and how they will appear on the page.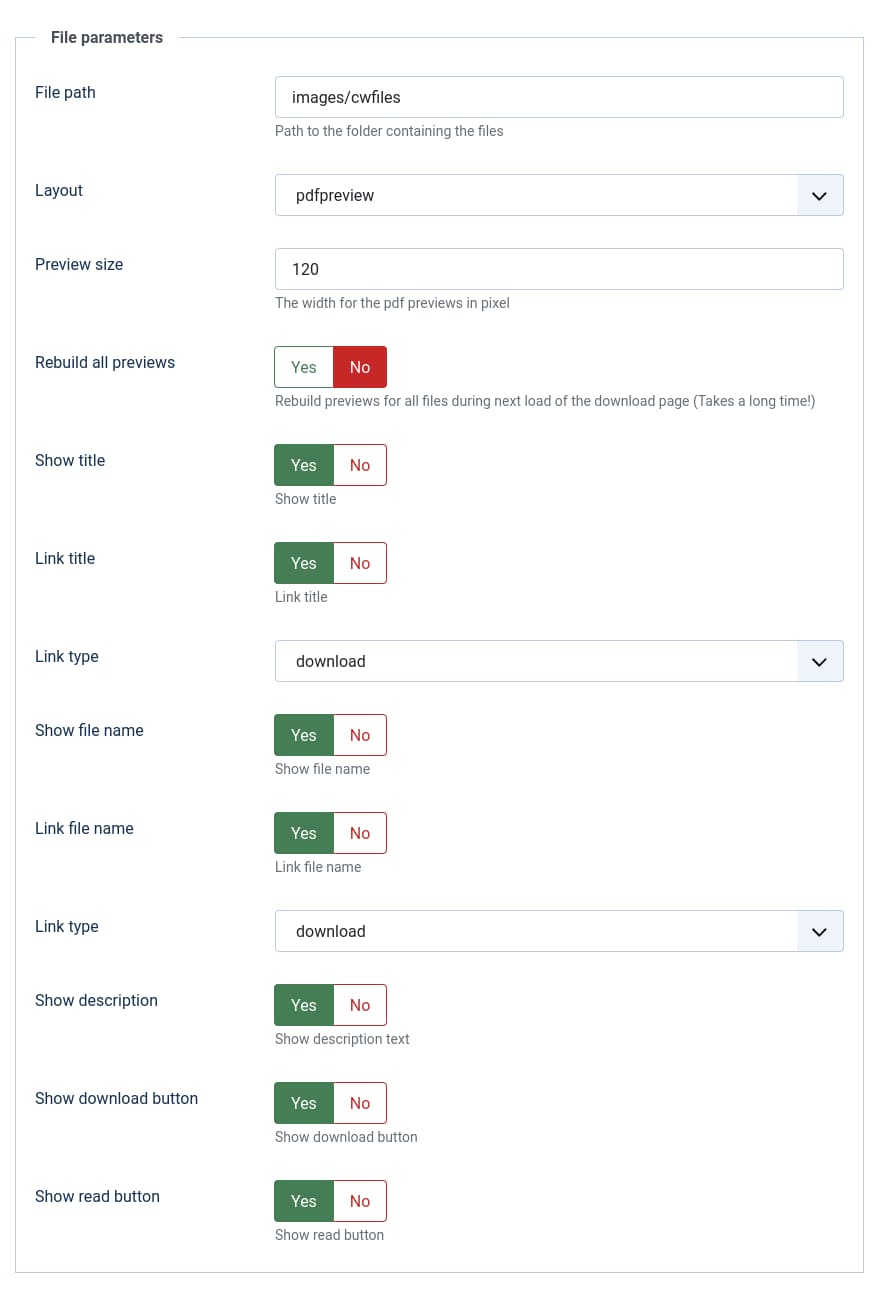
- File path
The location on the server, where you upload and store the files. After setting this, you need to save the settings once for it to become available in the File manager. - Layout
Select between "default", a simple file list or "pdfpreview", which generates and shows the first page of any pdf document as thumbnail.
Important: The preview generation only works, if ImageMagick is enabled as a php extension! - Preview size (Only available in layout "pdfpreview")
The width of the preview thumbnails in pixel. - Rebuild all previews
This will rebuild all thumbnails the next time the module is opened on the site. You usually only have to enable this, if you change the Preview size after the thumbnails have been created.
Important: If you have a lot of files, this can take quite some time. It is highly recommended, that you load the page yourself after enabling this. Don't forget to disable again afterwards! - Show title
Show the title from the file manager on the list of files. - Link title
Link the title to either download or view the file. - Link type
Choose if the linked title should open the file in the browser for reading or start the download. ("read" only works with documents or files that the browser can open.) - Show file name
Show the name of the original file.
Note: This still doesn't reveal the download path, so it is still protected. - Link file name
Link the file name to either download or view the file. - Link type
Choose if the linked file name should open the file in the browser for reading or start the download. ("read" only works with documents or files that the browser can open. Mainly pdf files.) - Show description
Show the description from the file manager in the file list. - Show download button
Show the button to download the file. - Show read button
Show the button to open the file in the browser for reading. ("read" only works with documents or files that the browser can open. Mainly pdf files.)
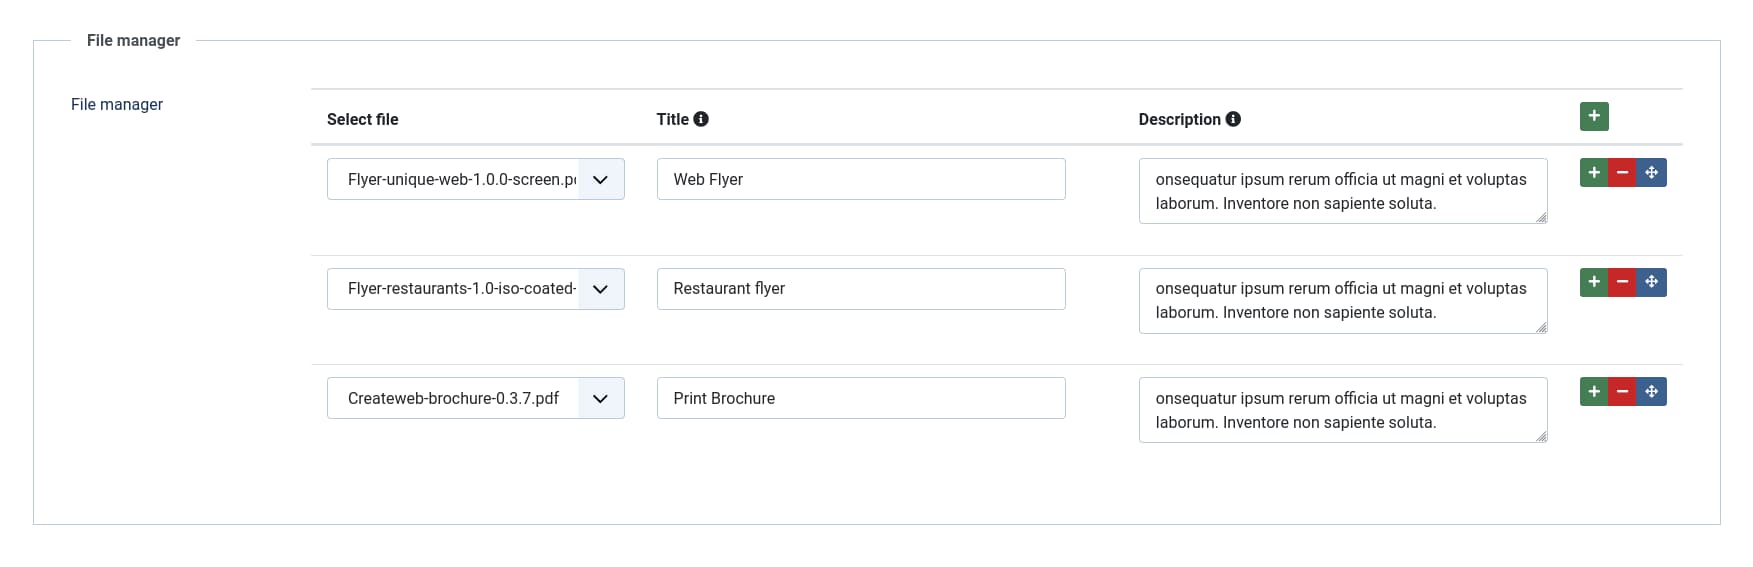
In the file manager you select the files from the folder that you have set in the file parameters, give them a title and a description. If you have a lot of files and pdf previev is enabled, it is highly recommended, that you once open the frontend, because the generation of the thumbnails can take some time and you probably don't want to leave this job to the first visitor.